While the on-site installation of container homes is faster than that of traditional buildings, it still requires a standardized process to ensure safety and quality. The following are the standard installation steps:
Step 1: Site Preparation and Foundation Construction
Before installation, clear the site of debris and ensure the ground is level and solid. Select the foundation type based on site conditions:
Concrete pad or strip foundations: The most common solution; requires embedding anchor bolts or positioning steel plates, ensuring foundation levelness deviation is ≤10mm.
Pile foundations: Support points are generally spaced 3 to 6 meters apart; involves excavating 600–800mm deep holes and installing reinforcement; suitable for soft soil conditions.
Concrete block foundations: An economical and simple solution; suitable for temporary or short-term use scenarios.
For 40-foot container units, support points of at least 80mm are required on each side of the unit. For soft ground such as beaches or muddy terrain, pile foundations must be installed.
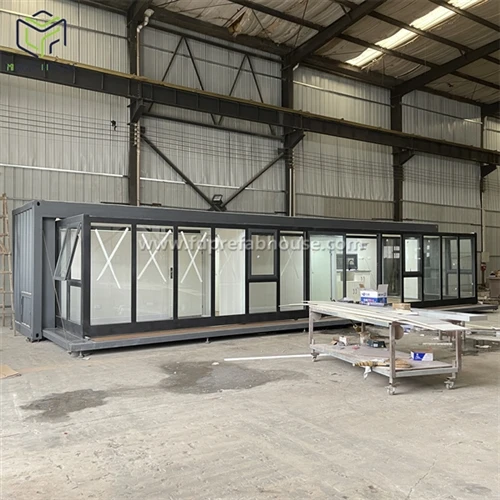
Step 2: Lifting and Positioning
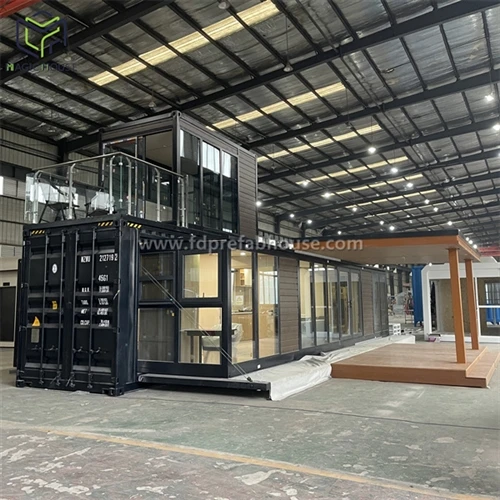
Use a crane to lift the unit onto the foundation and position it according to the design layout. For two units arranged in a T-shape, connection points must be precisely aligned to ensure smooth subsequent expansion and internal interconnection.
Step 3: Expansion
Once the unit is secured in place, activate the expansion mechanism (which may be manual, hydraulic, or electric, depending on the model). After expansion, verify that all moving parts are locked in place to prevent shifting during use.
Step 4: Utility Connections
Connect electrical wiring (or solar power systems) and plumbing (water supply and drainage), and install heating or air conditioning equipment. In the New Zealand market, electrical and plumbing work must be performed by licensed professionals.
Step 5: Sealing and Finishing
Seal the joints of the expanded sections to prevent water leakage. Install exterior finishes and complete the interior fit-out.