1. Overview
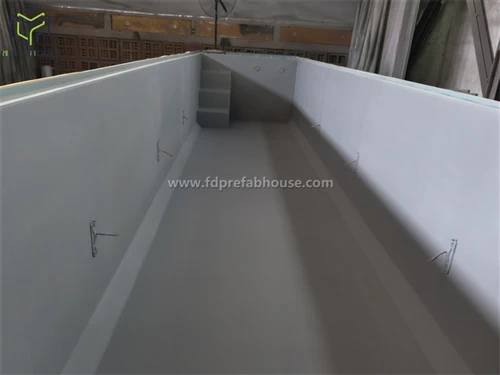
Exterior spray painting (coating) of the pool – including the outer shell and surrounding decorative surfaces – is important not only for aesthetics but also for structural protection, waterproofing, and UV resistance. Because exterior coatings are exposed to outdoor conditions for long periods, they must have excellent weatherability, UV resistance, and adhesion.
2. Construction Preparation
Surface preparation: The substrate must be initially cleaned to expose the entire working surface. Mortar residue, soil, oil, and other contaminants must be thoroughly removed. Oil stains should be washed with detergent and rinsed with clean water, then left to dry completely before coating. Check substrate strength – there must be no peeling, powdering, visible cracking, or sanding defects. Local cracks must be repaired with special filler materials.
Environmental conditions: Ambient temperature during coating application should be 5–38 °C, with relative humidity below 85%.
3. Spray Painting Procedure
Primer coat: Apply a uniform coat of waterproof primer by roller or spray, ensuring complete coverage. Allow the primer to dry naturally; drying time depends on weather conditions and paint type.
Intermediate coat: After the primer has dried, apply the intermediate coat. Once dry, sand the surface, clean it thoroughly, and then proceed to the topcoat.
Topcoat application: Choose the appropriate topcoat colour and type (e.g., polyurethane UV‑resistant non‑yellowing topcoat) as per design requirements. Apply the topcoat in 2–3 passes by spraying or rolling, with intervals of 12–24 hours between passes depending on paint drying speed. Sand lightly before the second topcoat pass.
Application sequence: Work from top to bottom and from left to right on each vertical face. For large areas, no application joints are allowed; if sectional work is necessary, use the wall expansion joints or internal/external corners as dividing lines.
Clear coat (optional): For high‑specification outdoor pools, a clear coat may be applied after the topcoat. On the same day as the second topcoat pass, a single‑component clear varnish may be rolled on.
4. Curing and Acceptance
After coating is complete, allow sufficient natural drying time – usually about 7 days. During curing, regularly inspect the coating for smoothness and colour uniformity to ensure no defects. After curing, carry out final acceptance, checking film thickness, colour evenness, adhesion, and other indicators.